Wednesday, February 12, 2014

Project 6: Fabric Bookholders


This is a project I've had on my to-do list for a while. I saw this project on pinterest or craftgawker or make.....somewhere out there. I thought it would be perfect for my daughter Josie because she is the ultimate bed hoarder. You know the type: 47 stuffed animals, 4 pillows, 13 books....I don't even know how she sleeps.

The bookholders are hung with double curtain rod brackets. I found mine on clearance at Lowe's almost a year ago with this project in mind. Here is a close up of what they look like, they are actually installed upside down.


You can see in the photo I just used black thread and I didn't trim off the edge of the fabric. This is from a lesson I learned when I quit my full time job and went back to college as an adult with a mortgage and THEN proceeded to have two babies 4 months apart. I call it "D in Pottery" - as in nobody is gonna care that you got a D in pottery once you are working and have your degree. Do what you can and keep going. Good enough. I can get a lot of things done because I'm fine with good enough instead of perfect. In this instance I finished three bookholders and had them hung before my kids got off the bus. They love them.


I made my little "hoarder" a deeper one than the others. This meant that the dowels snapped in half after one use. I bought thicker dowels for hers and now it's holding up fine. 

I love that I can change the fabric as their tastes change. They have also started using them in creative ways. Instead of holding any books, my son's holds all of his ocean creature toys. When he's laying in bed he gets them out and starts intricate play stories usually involving a sea monster chasing someone. So far a nice benefit is that I don't have to start flipping mattresses when it's 7:30 am and we can't find a library book when the bus is waiting outside. Win.


Monday, February 3, 2014

A cozy corner of my world

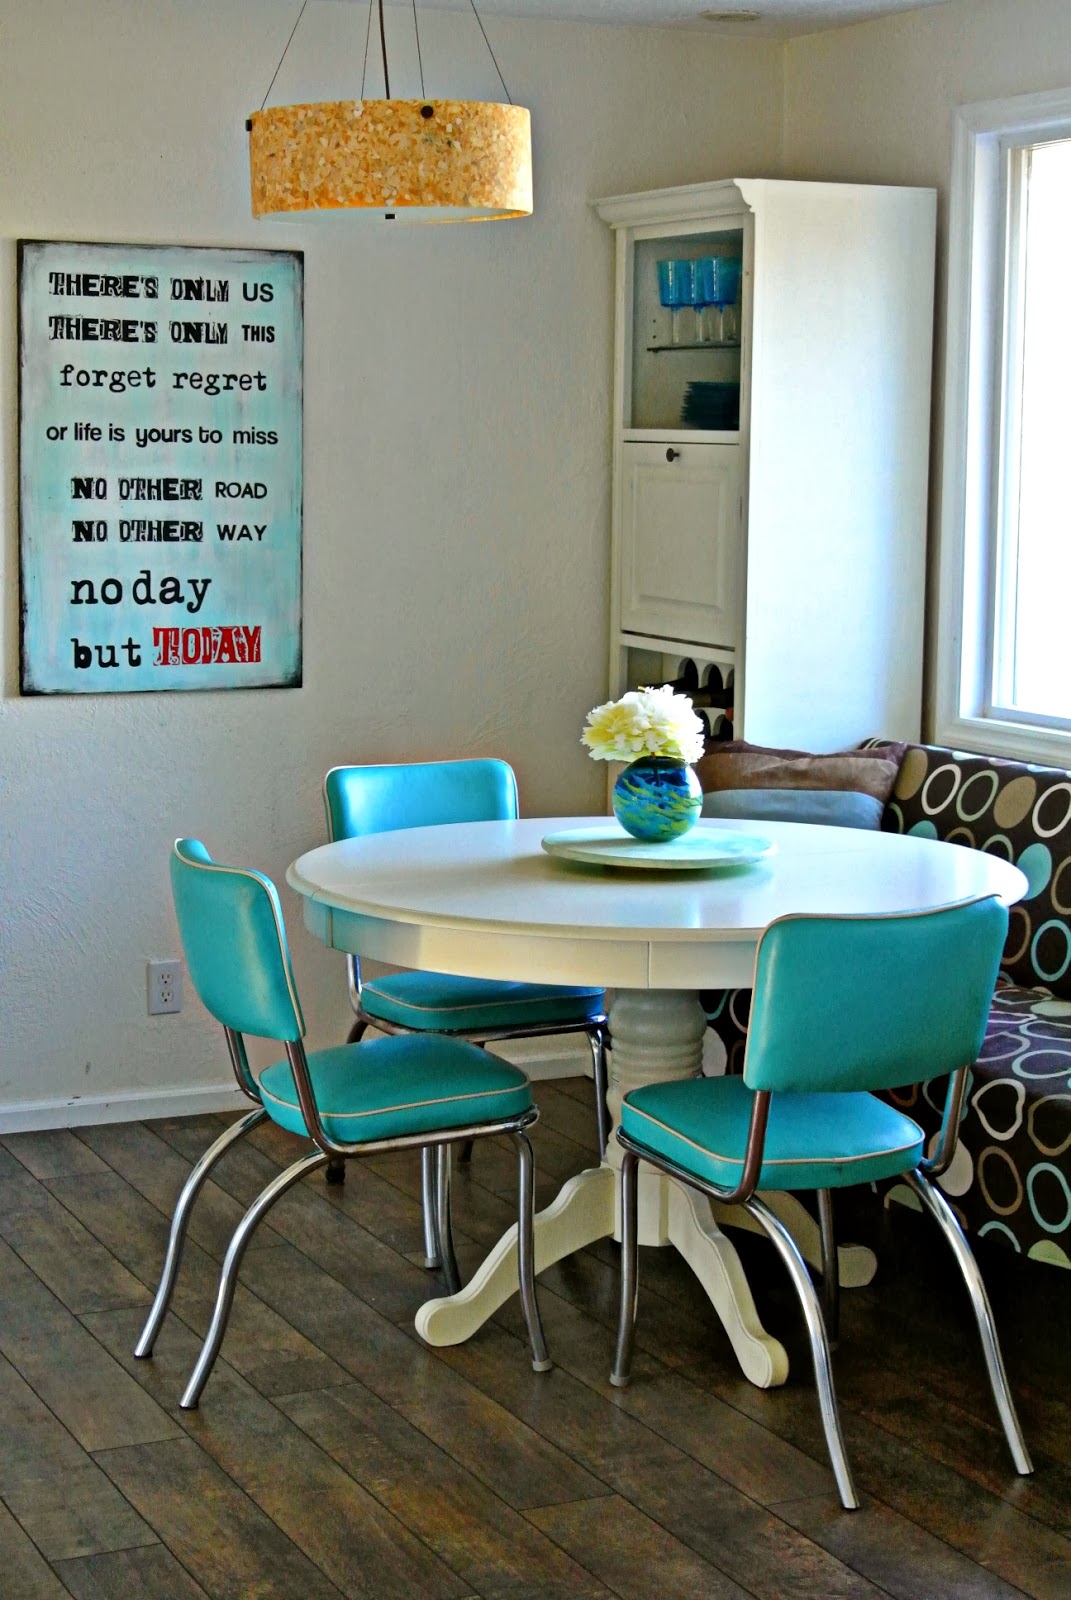
I headed out to the local thrift stores to look for some storage to anchor my newly covered dining room seating.   I only knew I was looking for something that would fit my space and had some closed storage.   At the local St. Vincent DePaul's, I happened upon a coordinating set of cabinets for $25 each!  They fit perfectly, maximize our vertical space and have fun features like a wine rack, pull out bar and lighted shelves.


I took them home and mixed up a fresh batch of white chalk paint.  Not white, white, more of an antique white.   It took about 3-4 coats of paint to cover up the dark espresso finish of the pair, but the effort paid off in a big way.

And yes, I do typically paint things right where they are. Without a drop cloth. It works for me. I waxed them, which for most people is the most tiring part of using chalk paint. But I found this handy waxing pad that fits on my drill. It was sold as a part of a headlight repair kit, but I knew just what I would use it for. No more achy arms for me!


I put the hardware on and loaded them up with wine from our Fall trip to Napa and our collection of 1950s Anchor Hocking Capri Colony glass dishes.


We had been searching for padded chairs that were sturdy and wipeable.  We had gone to numerous furniture stores and thrift shops.   As I was putting the cabinets in place, I realized I only needed to go "shopping" in my own house.  These chairs were part of a set I purchased off of Craigslist a few years ago.  The 1950's aqua formica table and matching vinyl chairs live in our lower "kids" level of the house and is frequently used for crafts, coloring and bug making.   Moved to our dining room, these chairs look retro- modern, bright and are super comfortable!  

So here's our dining space  ...........


rewritten...................